
WebinarKit's chat library is a place to store chat conversations for your various events. Currently, the chat library is used primarily with WebinarKit Chat Simulator. In the future, the chat library will also be upgraded as a place to store the chat conversations of prior webinars and meetings, so that you can review or export those messages later.
But for the time being, the primary purpose of the chat library is with WebinarKit Chat Simulator. The chat library allows you to create a conversation which you can add messages to. You can either add individual messages or you can bulk import messages either from other existing chat conversations you have already created, or via uploading a CSV file.
Once you've created your chat conversation, you can easily import the messages of a conversation directly into the chat simulator of your various webinars. This makes it super easy to import multiple chat simulator messages into your webinars instead of manually entering each message one by one.
To get started, go to https://webinarkit.com/chats and click the "New chat conversation" button. On the next screen, give your chat conversation a name so that you can easily identify it later. In the section below, use the "Add new message" button to add new messages to your chat conversation.
Again, you can either add individual messages or, bulk import messages from other chat conversations or CSV file upload. You can see an example template here for how your messages should be formatted in order to upload them successfully to WebinarKit.
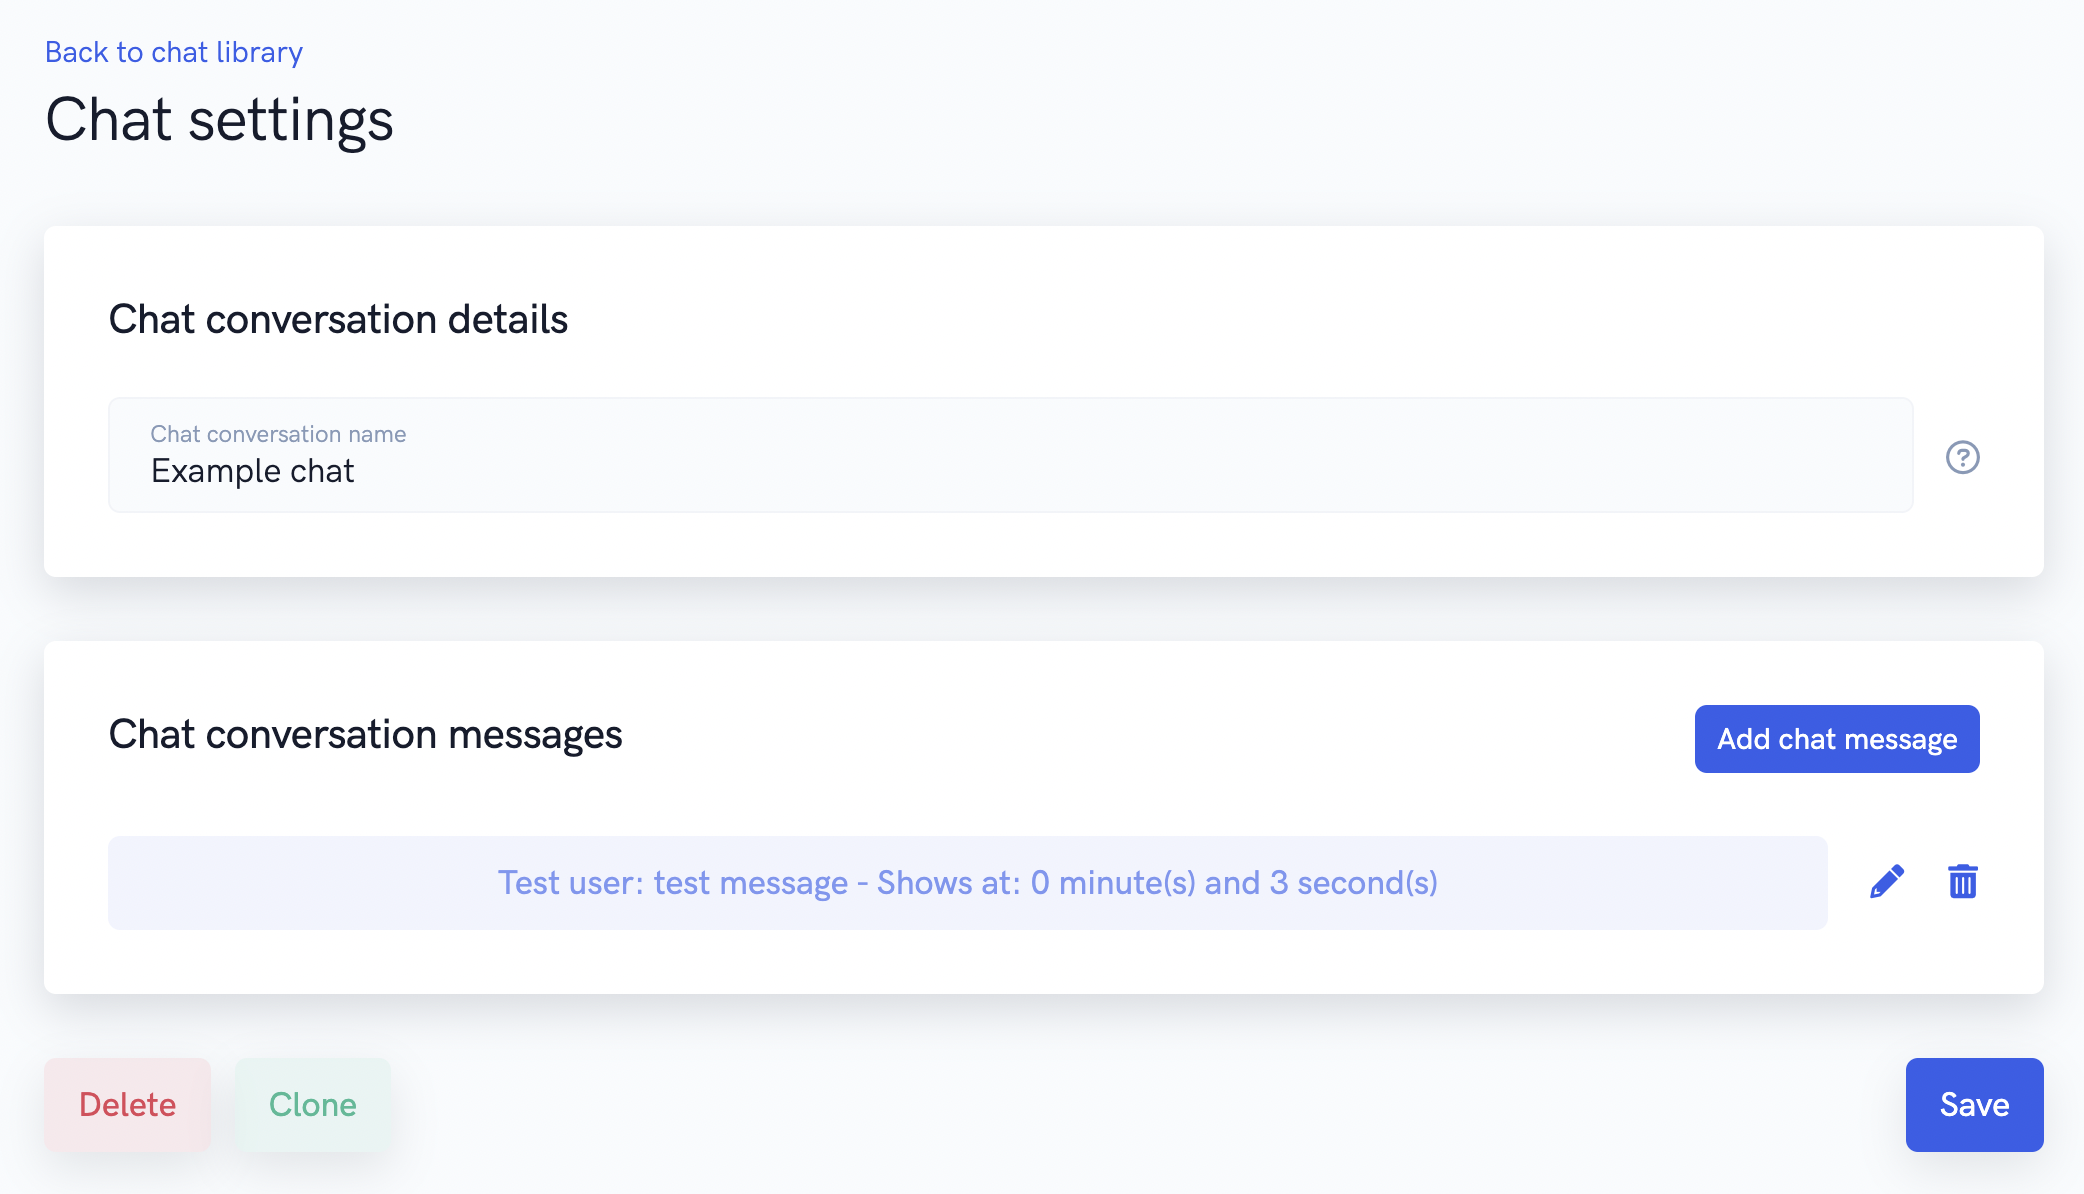
Once you're done, be sure to click the save button at the bottom of the page. To import your chat conversations into a webinar, navigate to the "live" settings section of one of your automated webinars and scroll down to the Chat Simulator section. From here, you can click the "Add new message" button to either add individual messages or bulk import many messages at once, either from a CSV file upload or from one of the chat conversations you previously created.
